Make Paperwork an ART
Where in the world is my high school diploma? I know I graduated but I don't think I've seen that piece of paper in the 30 years since. I never thought I'd need it again!!!
This was my panicked thought process two years ago when I needed that diploma—and my college one—to prove that I was eligible to sit for the Certified Professional Organizer exam. A professional organizer who can't find her own vital records—I felt like a fraud!
Thankfully, both diplomas were still in my mother's house right where I stashed them after graduation. Now I have them in my paperwork system and can grab them at a moment's notice. In this blog, I'll help you set up your own simple paperwork system.
ART: My Simple Paperwork System
The biggest hurdle is knowing what to do with all the various papers (both physical and digital) that find their way into our homes. Do I have to do something with this? Do I need to keep this? How long do I have to keep it?
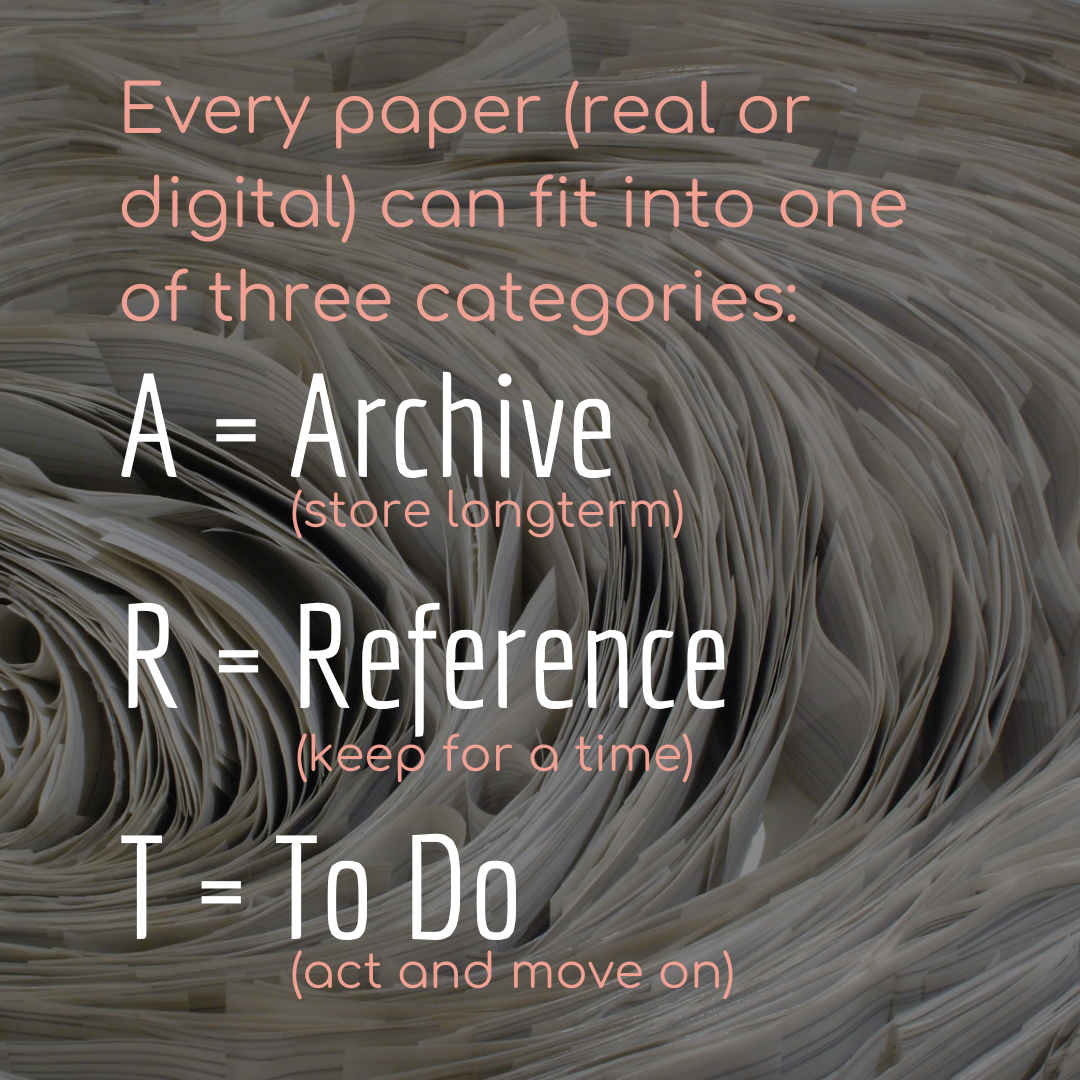
Every paper coming into your home can fit into one of three categories: Archive, Reference, or To Do. ART!
A = Archive
R = Reference
T = To Do
A is for ARCHIVE
Archive is something you have to store long-term or indefinitely.
Examples: Diploma, will, birth certificate, deed, tax records
Goal: Keep Archive documents in a safe place that's accessible when needed but out of the way of everyday life so it doesn't clutter up your space.
Your Archive can be one or a combination of these places: a safe, a fire-resistant document bag, a banker's box in the attic or basement (elevated to avoid water damage), or the bottom (least-accessible) drawer of a file cabinet.
R is for REFERENCE
Reference is something you have to store for a while in case you need the info on it.
Examples: Paid bills, bank statements, pay stubs, insurance policies, medical bills, receipts
Goal: Organize reference information so filing it is quick and retrieval is easy.
Store reference files somewhere convenient so you actually file them, preferably near where mail comes in and near a recycling bin. Reference files can live in the top or middle drawer of a file cabinet, a desktop file box, or even an expanding ("accordion") file case.
Reference files can easily get out of hand, so here are three tips to keep them at bay.
Replacement files: When the new one arrives (e.g. insurance policy), remove and shred the old one.
Go digital! Sign up for e-statements and e-bills. If you still want to save copies, set up a digital file cabinet that mirrors your paper file folders.
Fewer folders = easier to file. Never have a folder that holds just one or two papers. Instead, use broad categories such as Credit Cards, Insurance, and Medical.
T is for TO DO
To Do's are papers that you need to act on.
Examples: Bill to pay, appointment to schedule, form to be signed, email to send, return to process, article to read
Goal: Get these DONE and get on with your life.
Beware the In Tray because that becomes a towering stack of papers! Instead set up an easy-to-see system in a small desktop file box or a cascading wall file with just a few categories (e.g. bills, calls, tasks). Once the To Do's are done, either shred the paper or file it in Reference if necessary.
Are you ready to turn your papers into ART?
Or are you doubtful? Are you looking at a backlog of boxes and file cabinets and stacks? Do you have tons more still coming in? Worrying about the backlog can be paralyzing. Move forward by setting up your ART system to deal with the incoming, then chip away at the backlog bit by bit.
Got 15 minutes? Play some motivating music and grab a stack of papers—just as much as you can hold in one hand. Go through them, getting rid of what you no longer need and putting the rest into your ART system.
Now you're ready to turn your papers into ART!


